Boost de snelheid van je WordPress website met LiteSpeed Cache

Wist je dat je op onze hostingservers de snelheid van je WordPress website aanzienlijk sneller kunt maken, gratis en voor niets? We hebben namelijk het supersnelle LiteSpeed als webserver op al onze servers draaien, en die heeft een speciale cachingplugin voor WordPress beschikbaar genaamd LiteSpeed Cache. In dit artitel leggen we je uit wat LiteSpeed Cache is en hoe je het installeert op je WordPress website.
Wat is LiteSpeed Cache?
Caching is een veel gebruikte techniek om websites te versnellen. In plaats van door PHP en de MySQL database elke pagina te laten genereren, worden je pagina's kant-en-klaar in het geheugen opgeslagen zodat ze snel aan de bezoeker getoond kunnen worden. Er zijn veel caching-plugins voor WordPress beschikbaar. Het voordeel van LiteSpeed Cache is dat het optimaal samenwerkt met de LiteSpeed webserver, die wij op al onze hostingservers gebruiken. LiteSpeed optimaliseert, comprimeert en versnelt je website. Door gebruik te maken van de LiteSpeed Cache plugin kan dit nog beter gebeuren.
Hoe installeer ik LiteSpeed Cache voor WordPress?
Laten we nu de LiteSpeed Cache plugin voor WordPress installeren. Hieronder laat ik stap-voor-stap zien hoe dat in zijn werk gaat.
Stap 1: installeer de LScache plugin
Allereerst gaan we de LiteSpeed Cache plugin installeren, LScache in het kort. Log hiervoor in op wp-admin, en ga naar Plugins, en klik op de Nieuwe Plugin knop. Zoek dan op "LScache". Installeer en activeer de gevonden plugin.
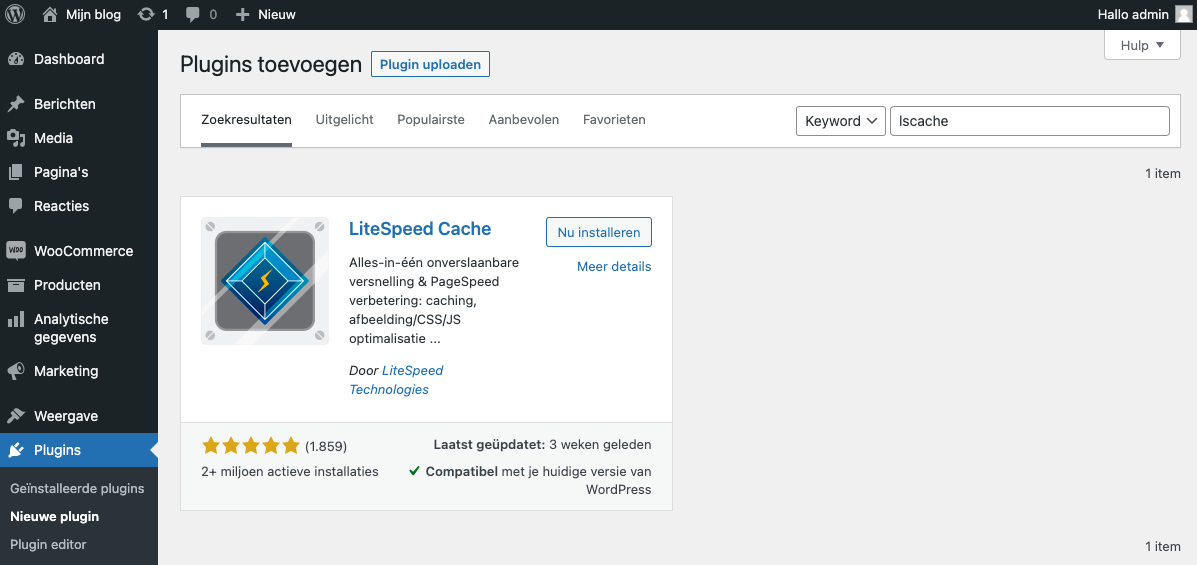
LiteSpeed Cache plugin installeren
Stap 2: controleer de cache-instellingen
Nadat de LScache plugin is geinstalleerd en geactiveerd, is het goed om de cache-instellingen van de plugin te checken. Voor de meeste websites staan alle instellingen standaard al goed, dus de kans is klein dat wijzigingen nodig zijn. Je kunt de instellingen checken door op LiteSpeed Cache in het linkermenu te klikken, en dan vervolgens op het Cache menu-item daaronder.
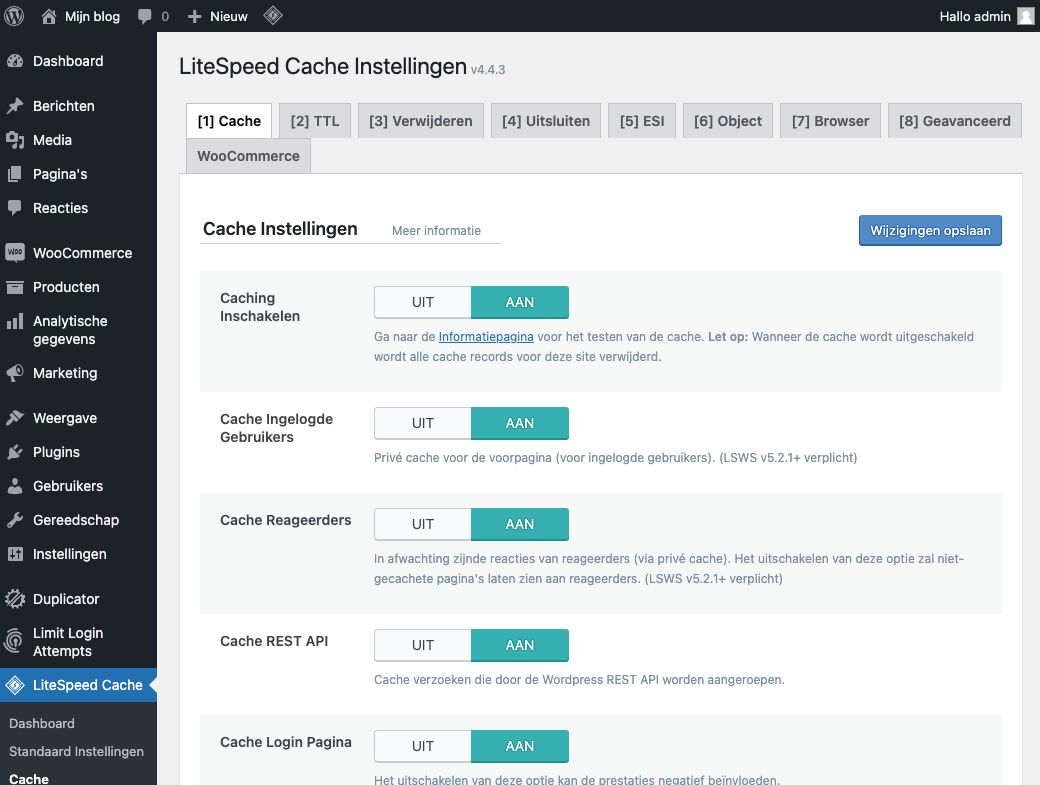
LiteSpeed Cache instellingen controleren en wijzigen
Stap 3: controleer of caching werkt voor je WordPress website
Nu is tijd om te controleren of de cache zijn werk doet. LiteSpeed heeft hiervoor een handige check-website voor gemaakt, welke je kunt bezoeken via: https://check.lscache.io/
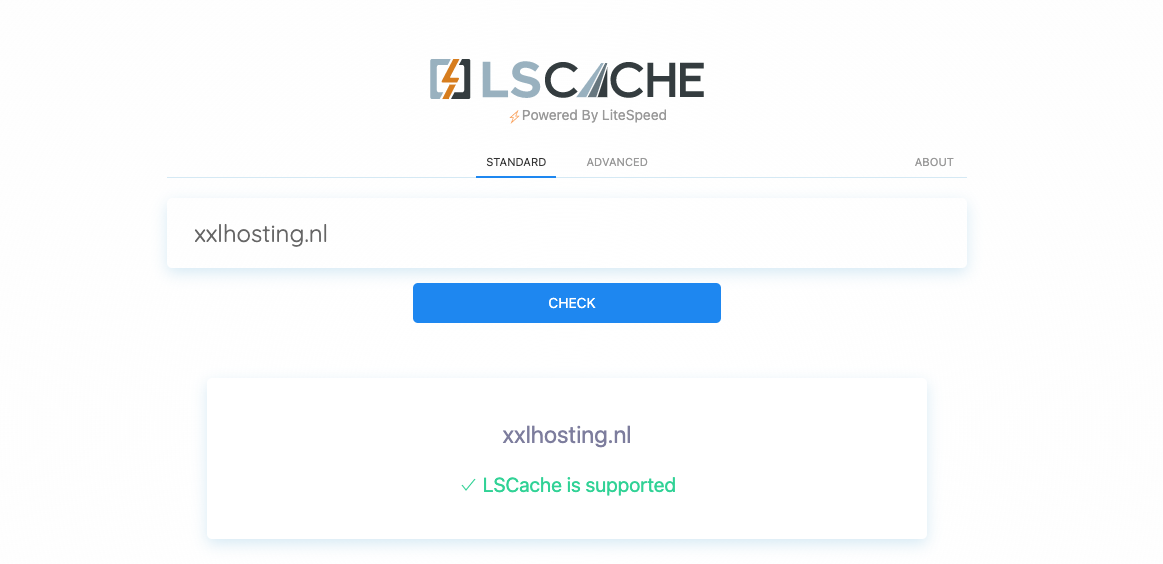
Controleer of LScache goed werkt op check.lscache.io
Stap 4: cache resetten bij updates
Als laatste stap willen we graag uitleggen hoe je de cache van LiteSpeed kunt resetten. Normaal gesproken wordt de cache automatisch na enige tijd gereset, maar het kan voorkomen dat je de cache handmatig wilt legen. Dit kan door onder de LiteSpeed Cache voor het menu-item Toolbox te kiezen. Op deze pagina kun je dan de cache resetten met de optie "Verwijder alle cache".
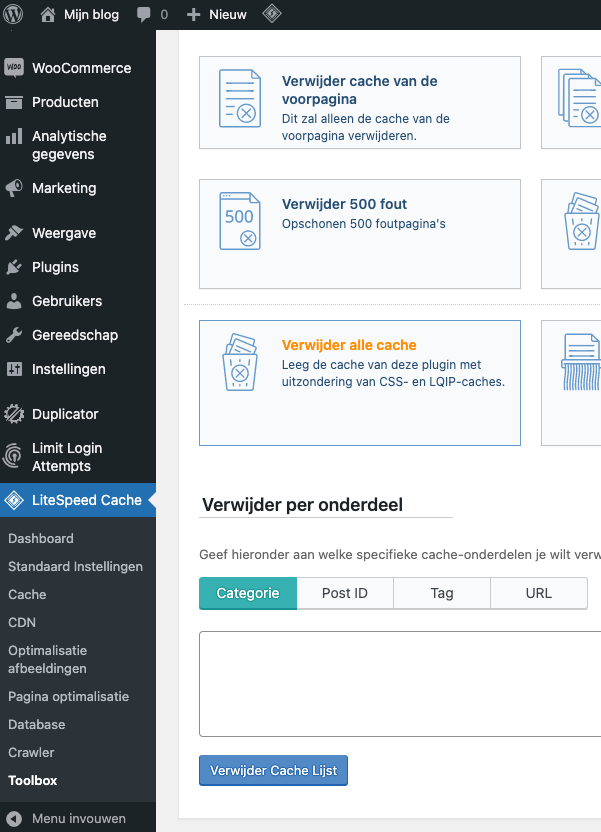
Met "Verwijder alle cache" kun je de LiteSpeed Cache legen